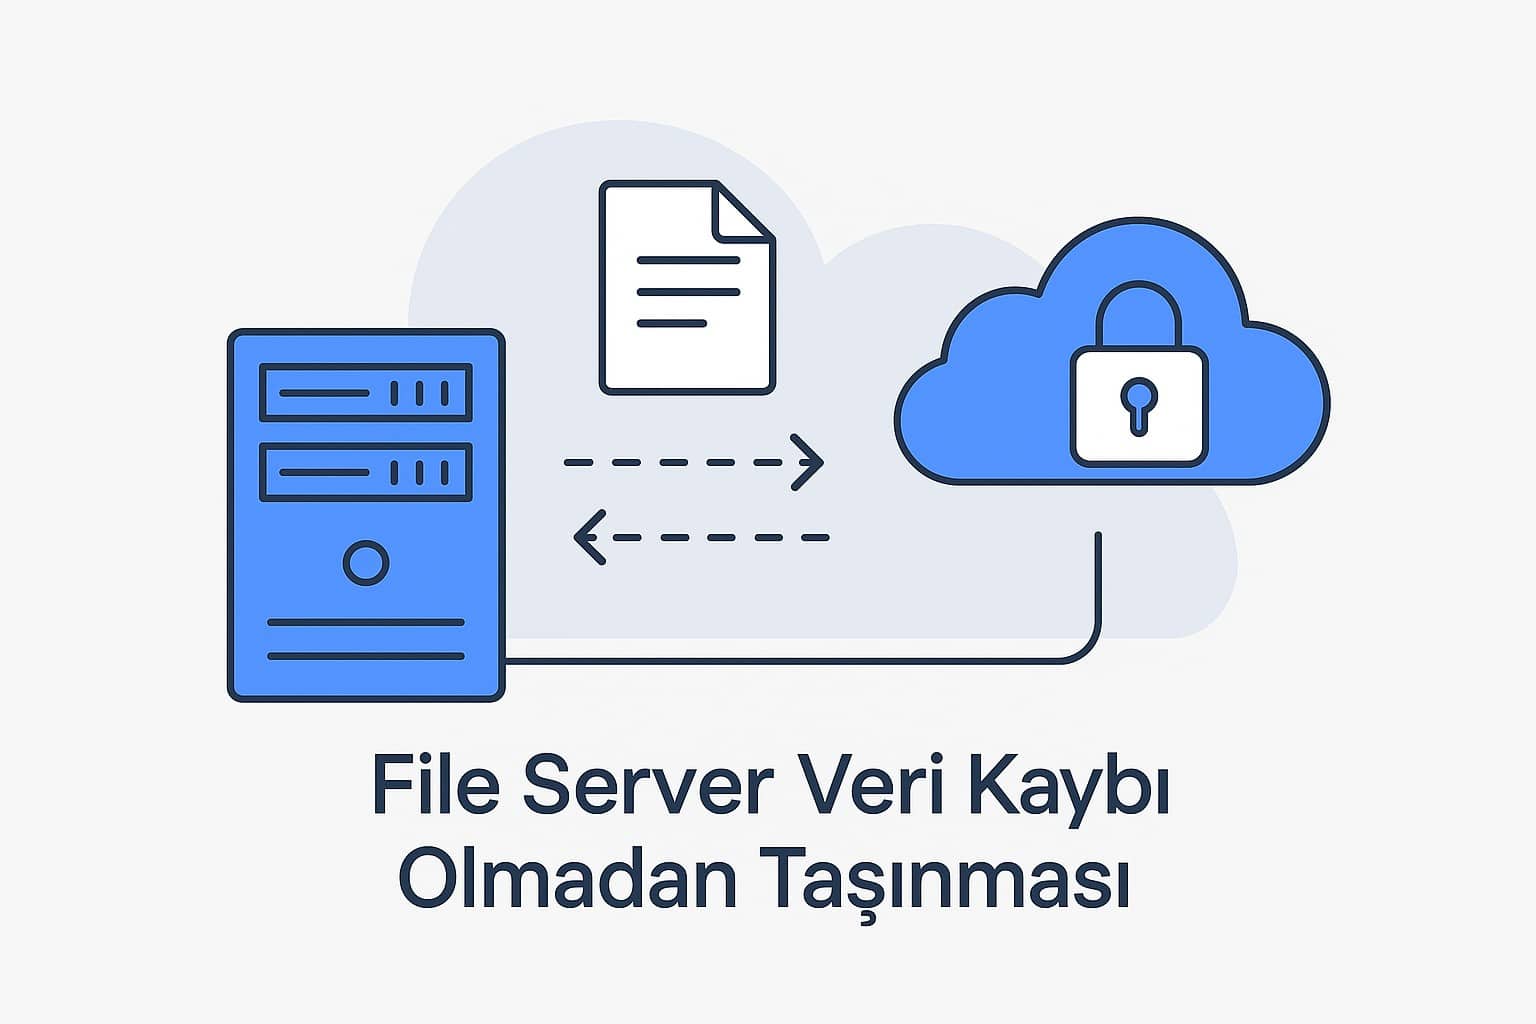

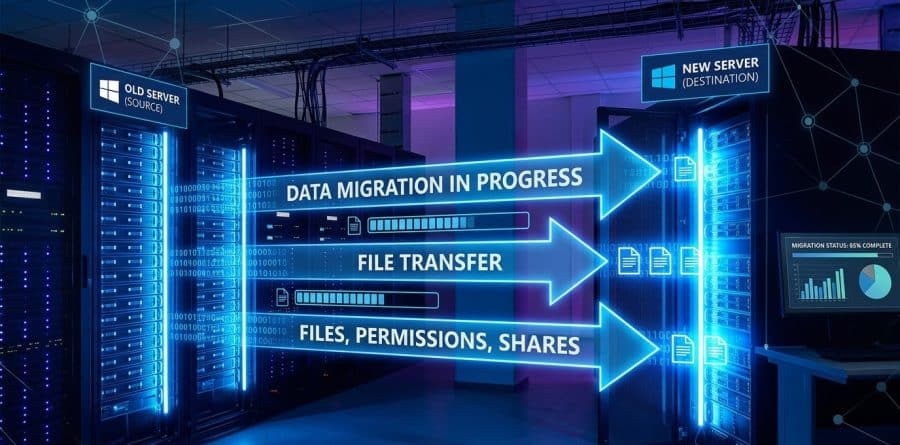
Growing storage needs, ageing servers or a move to a new architecture eventually make a file server migration unavoidable. Moving a file server is more than copying data: NTFS permissions have to be preserved, user downtime has to be kept short and data integrity has to be verified.
This guide covers a Windows file server migration from start to finish: copying data with Robocopy, keeping permissions, moving the shares and a cutover with minimal downtime.
What is a file server migration?
A file server migration moves the data and access permissions from an existing file server to a new one. Typical reasons:
- Moving to new hardware
- Faster storage
- A Windows Server upgrade
- Better redundancy and performance
Planning before the migration
Analyse the current server
First, document the following on the current file server:
- Folder structure
- Total data size
- NTFS permission structure
- Share names and share permissions
- How heavily users access the data
Check disk space
Make sure the new server has enough storage capacity.
Get-PSDrive -PSProvider FileSystemReview the permissions
NTFS permissions must be preserved during the migration.
Get-Acl "D:\Finance" | Format-ListMigration methods
Several methods can be used to migrate a Windows file server:
- Robocopy
- Storage Migration Service
- DFS Replication
- Backup and restore
The most common and reliable method is Robocopy, which is built into Windows Server.
Migrating with Robocopy
Advantages:
- Preserves NTFS permissions
- Can resume after an interruption
- Performs well with large data sets
- Writes a log
Basic Robocopy command
robocopy D:\Data \\FS02\Data /MIR /COPYALL /R:3 /W:5 /LOG:C:\Temp\migration.logD:\Data and \\FS02\Data are examples; use your own source path and the share on the new server.
Parameters
- /MIR: mirror mode. Copies the folder tree and deletes files in the destination that do not exist in the source.
- /COPYALL: copies data, attributes, timestamps, NTFS permissions, owner and auditing information.
- /R: number of retries.
- /W: wait time between retries, in seconds.
- /LOG: writes the output to a log file.
Because /MIR deletes in the destination, check the source and destination paths carefully. A wrong destination folder can be emptied. Run the command with /L first to see what would happen without copying or deleting anything.
Permission migration
The /COPYALL parameter copies:
- Data
- Attributes
- Timestamps
- Security (NTFS permissions)
- Owner information
- Auditing information
Copying owner and auditing information requires an elevated session with the corresponding rights.
A migration strategy with minimal downtime
To keep user downtime short, the migration is usually done in two phases.
1. Initial copy
Copy the data for the first time outside working hours.
robocopy D:\Data \\FS02\Data /MIR /COPYALL2. Delta sync and cutover
After the initial copy, data that changed in the meantime is synchronized again. How long the delta takes depends on the rate of change, the number of files, network and storage performance and locked files; do not assume in advance that it will be short.
At cutover, stop user writes in a controlled way, run the final delta copy, review the Robocopy exit code and log, and then point the share or namespace to the new server.
Moving the shares
The share configuration has to be moved to the new server as well. List the existing shares and their permissions:
Get-SmbShare
Get-SmbShareAccess -Name Finance
Create the share on the new server:
New-SmbShare -Name Finance -Path D:\Finance -FullAccess "Domain Admins"Recreate the share permissions to match the source server; -FullAccess "Domain Admins" is only an example.
Updating DNS or the namespace
After the migration, users have to be pointed to the new server. Options:
- DNS alias
- DFS Namespace
- Updating logon scripts
In enterprise environments, DFS Namespace is usually the best option, because it separates user paths from physical server names.
How to read the Robocopy exit code
Robocopy uses a different exit code logic from most programs: a non-zero value does not automatically mean failure. Values below 8 mean that no copy failures occurred; 8 or higher means that at least one file or folder could not be copied. In automation, do not rely only on “is %ERRORLEVEL% zero?”. Evaluate the exit code together with the copied, skipped, mismatched and failed counts in the log.
Checks after the migration
- Compare file counts
- Verify permissions
- Test user access
- Review the Robocopy log and exit code
- Verify the SMB share permissions separately
- Check dependencies in applications, scripts and mapped drives
Compare file counts without copying anything:
robocopy D:\Data \\FS02\Data /L /MIRAn enterprise migration scenario
When an old Windows file server moves to new Windows Server and storage infrastructure, plan the process in phases instead of a single copy:
- Create an inventory of the source data, shares and NTFS permissions.
- Pre-seed the data with Robocopy.
- Check the log and exit code.
- Run a delta sync before cutover.
- Change the share or DFS namespace target in a controlled way.
- Verify permissions, file access and application dependencies.
- Do not decommission the old server until the rollback plan has been verified.
Best practices
- Test before the migration
- Analyse the permission structure
- Check the Robocopy logs
- Prepare a downtime plan
- Inform users
Include file server policies in the inventory as well: not only data and ACLs, but also any FSRM quota and file screen configuration.
Conclusion
With the right planning and tools, a file server migration can be done safely. Robocopy preserves the NTFS permission structure and data integrity, and a two-phase copy keeps downtime short. Careful planning protects both the cutover window and the user experience.
Related guides
- Can’t Access a Windows SMB Share? File Server Troubleshooting Step by Step
- NTFS permission design and the AGDLP model (Turkish)
- File server and NTFS permission management with PowerShell (Turkish)
- Windows Server FSRM: quotas, file screens and reporting (Turkish)
- DFS Namespace and DFS Replication (Turkish)